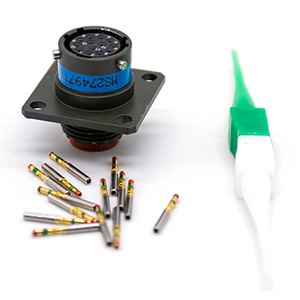
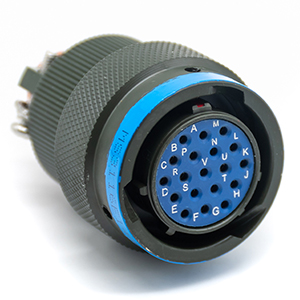
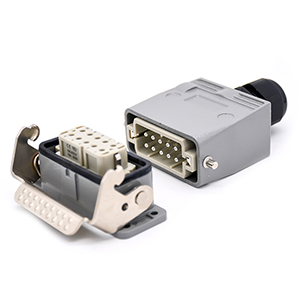
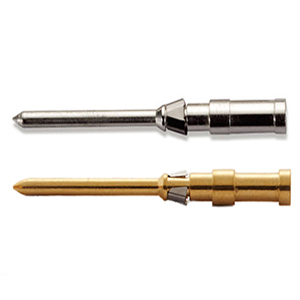
M Series Connectors
Are lightweight triplestart ratchet coupling type connectors designed for avionics, aerospace, Harsh Environment Connectors, security, motorsport and heavy duty applications.
In the world of photovoltaics (PV), the solar panel connector is often the unsung hero. While solar modules and inverters get the spotlight, these small components are the critical “nervous system” ensuring energy flows efficiently from your roof to the grid. A single faulty connection can lead to significant power loss, or worse, hazardous electrical arcs.
This guide will walk you through everything from the industry-standard MC4 to specialized branch connectors (T/Y/X types) and essential safety components like PV fuse connectors.
Before 2000, installers often used screw terminals or rudimentary clips, which were prone to corrosion and loosening. Today’s specialized solar panel wire connectors are designed to solve specific challenges:
Not all connectors are created equal. Understanding the specific function of each type is crucial for system design.
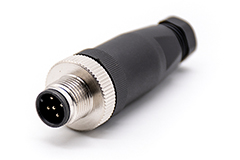
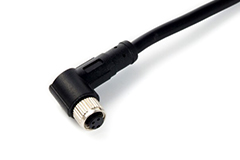
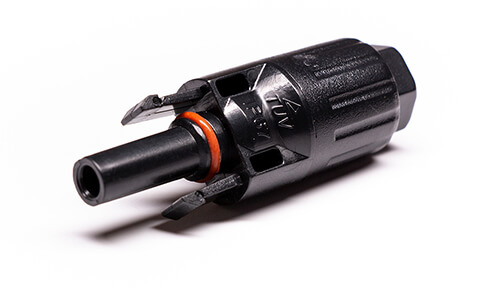
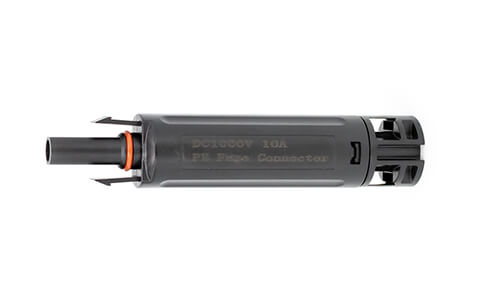
The MC4 connector (Multi-Contact, 4mm pin) is the global standard for modern solar modules.
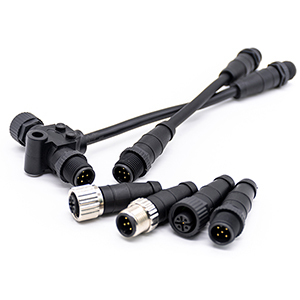
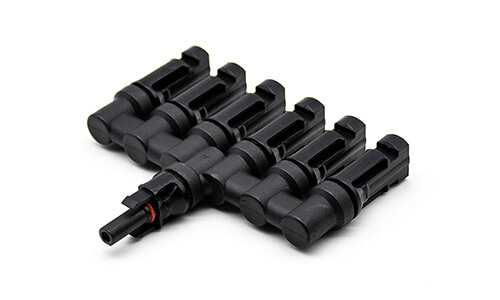
When you need to wire panels in parallel to increase current (Amps) while keeping voltage the same, you cannot simply twist wires together. You need branch connectors.

These are critical for protecting your investment, especially in larger systems.
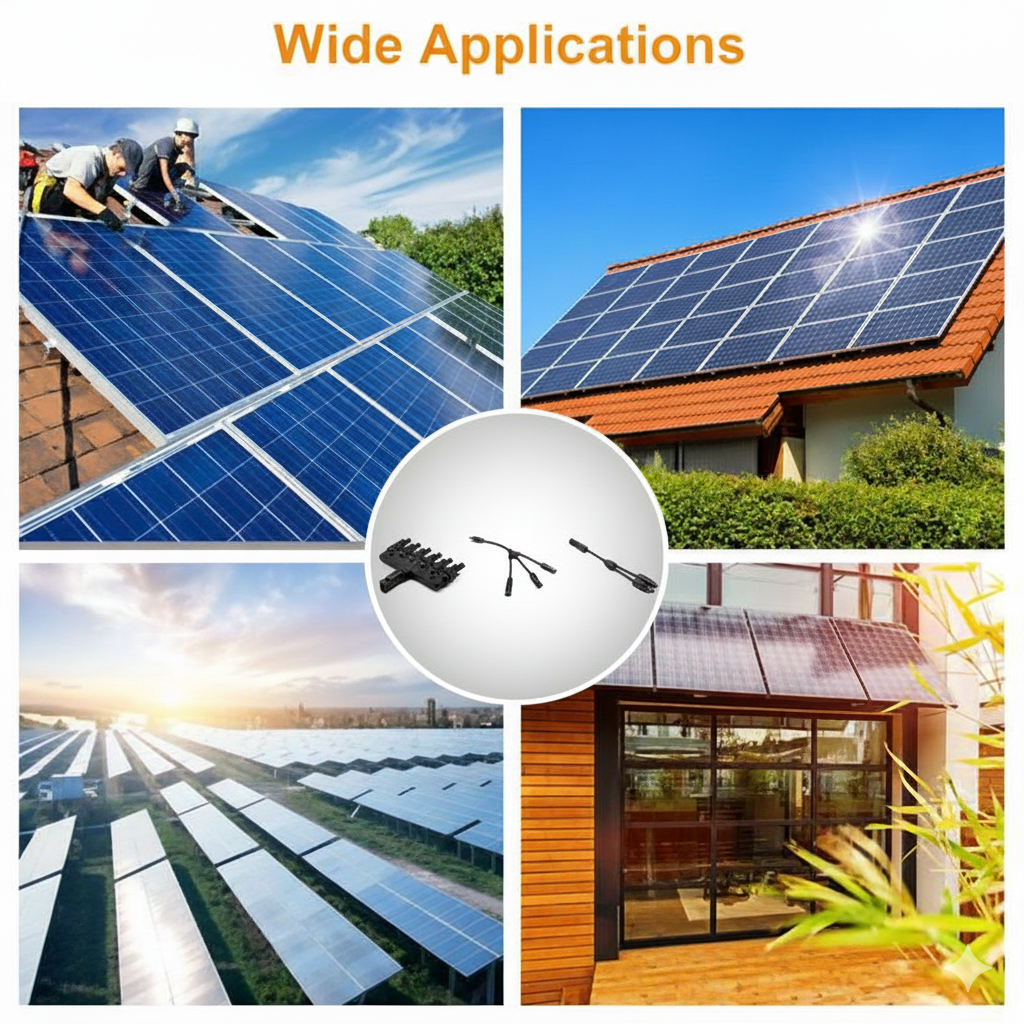
Choosing the right solar panel connector isn’t just about fit; it’s about optimizing your system’s efficiency and safety based on its scale and environment. Here is how to match different connector types to real-world applications.
Scenario: Limited roof space, typically 1-2 strings of panels connected in series to a single inverter or charge controller.
Recommended Solution:
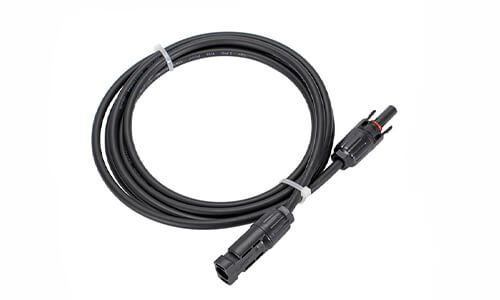
Standard PV Cable Connectors: For simple “daisy-chain” connections between panels.
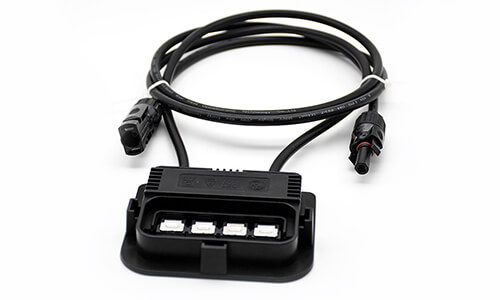
Y-Type Branch Connectors: Ideal for RVs (Recreational Vehicles) where you might connect just two flexible panels in parallel to charge a 12V battery bank without needing a bulky combiner box.
Why: Simplicity and ease of installation are key here. Standard connectors are sufficient for the lower voltages (usually <600V) found in these setups.
Scenario: Hundreds of panels, high voltage (1000V/1500V), and complex wiring layouts designed to minimize cable costs (BOS costs).
Recommended Solution:
T-Type / X-Type Connectors: Used to combine multiple strings efficiently directly at the rail level. T-types are preferred here for their compact profile that fits neatly under the panel frames.
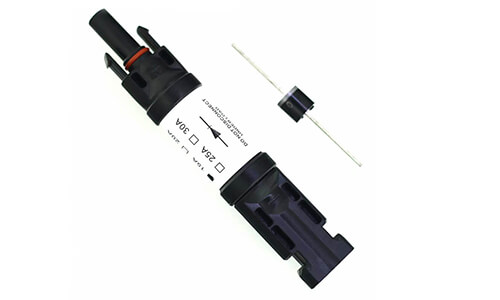
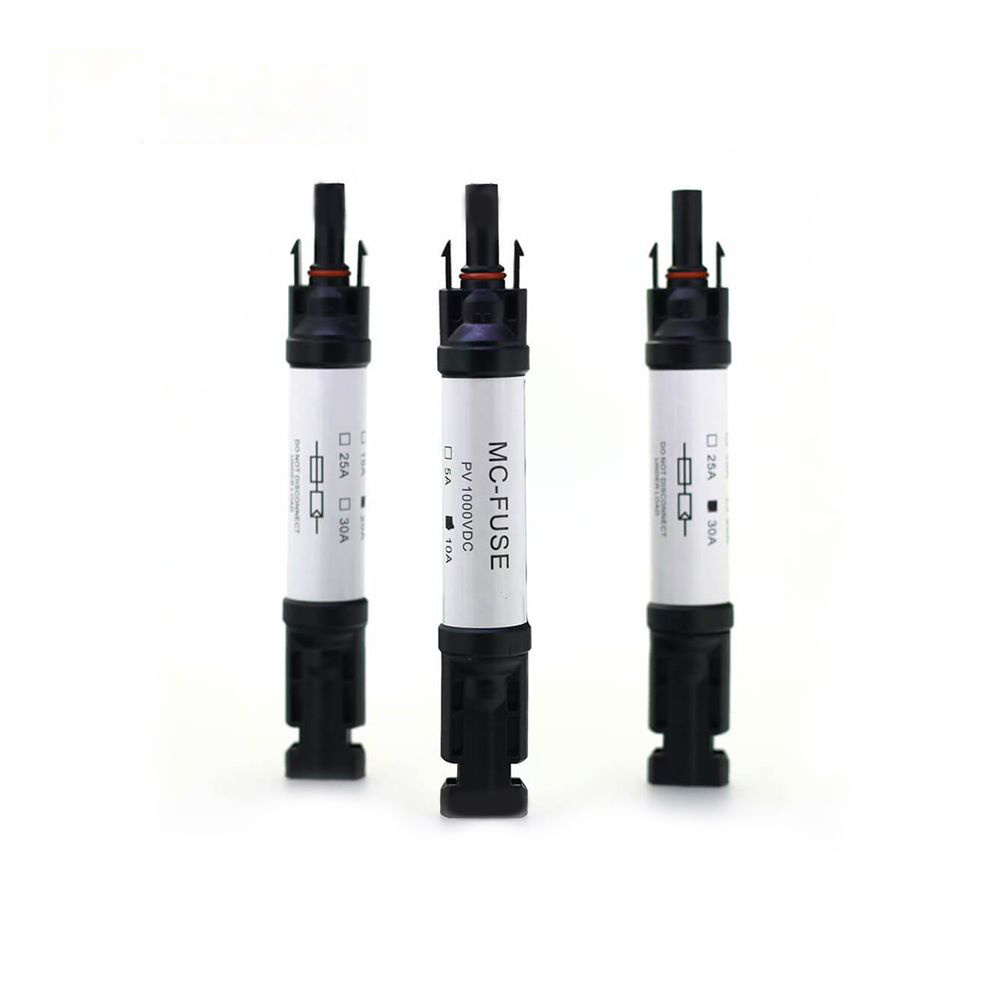
PV Fuse Connectors: Mandatory in many jurisdictions for parallel strings to prevent fire hazards from reverse current.
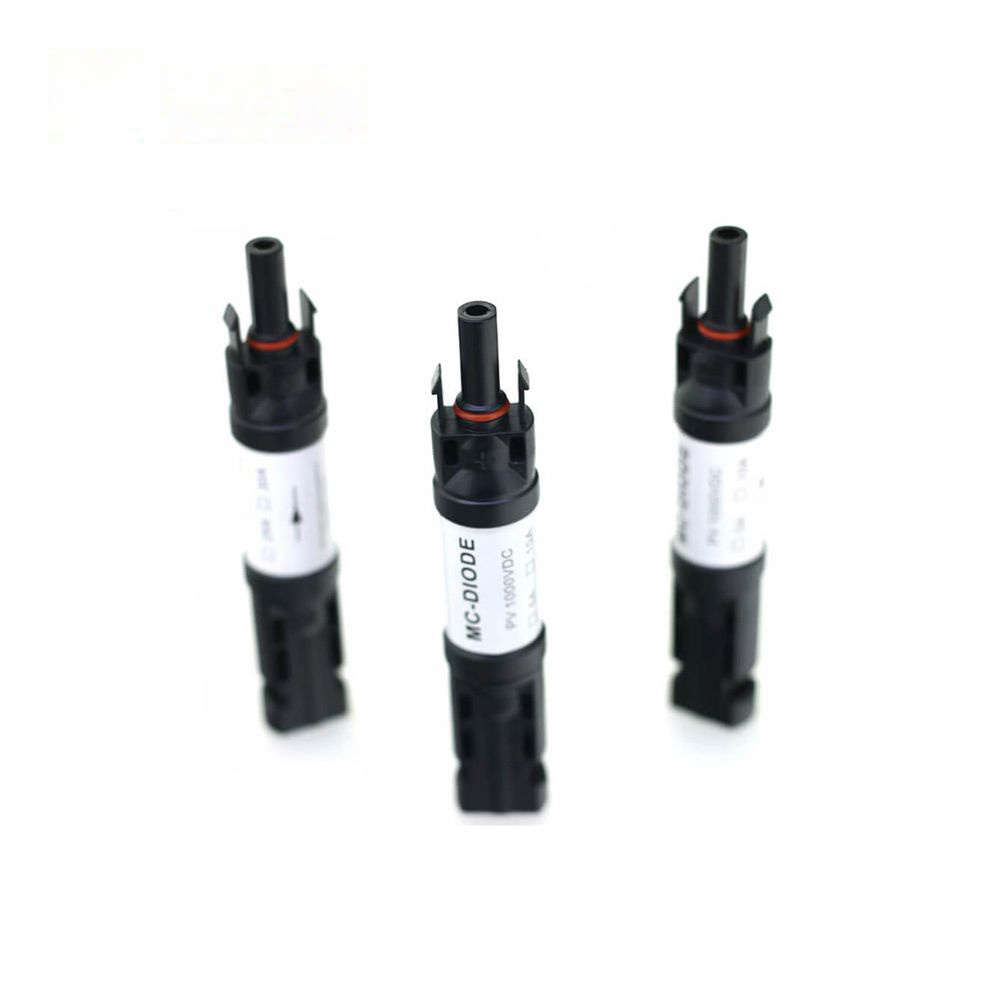
PV Diode Connectors: Essential for off-grid systems without MPPT controllers that handle backflow prevention.
Why: In large systems, reducing cable length using branch connectors saves significant money. Safety components (Fuses/Diodes) are non-negotiable to protect expensive hardware.
When selecting solar panel connectors types, matching the specs to your system voltage and current is vital for safety.
| Specification | Typical Value | Why it Matters |
|---|---|---|
| Rated Voltage | 1000V DC or 1500V DC | Residential systems usually use 600V-1000V; Commercial utility scales use 1500V. Ensure your connector matches your inverter limits. |
| Rated Current | 30A / 50A | If your system current exceeds the connector’s rating (e.g., in parallel setups), the connector will melt. |
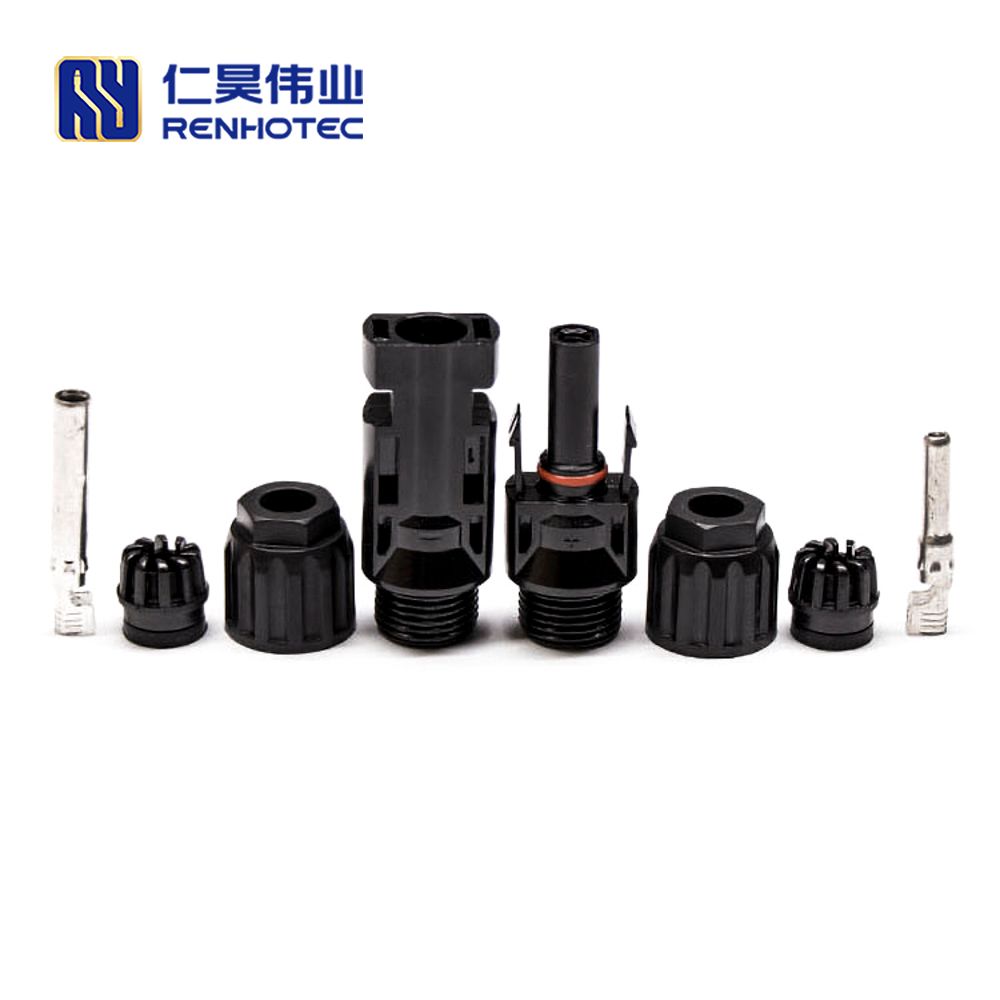
| Wire Size | 2.5mm² – 6mm² (14-10 AWG) | The metal pin inside must fit the wire gauge precisely for a secure crimp. |
| IP Rating | IP67 or IP68 | IP67 can be submerged briefly; IP68 offers superior long-term protection against rain and dust ingress. |
| Contact Material | Tin-Plated Copper | Copper offers conductivity; tin plating prevents oxidation over decades. |
Step 1: Confirm System Configuration (Series vs. Parallel)
Series (High Voltage): You primarily need Standard Male/Female Connectors.
Parallel (High Current): You definitely need Branch Connectors (2-to-1, 3-to-1, or 4-to-1) to combine currents.
Pro Tip: If parallel wiring more than 2 strings, add a PV Fuse Connector to the positive line of each string.
Step 2: Check Voltage & Current Ratings
Voltage: Ensure the connector is rated for 1000V DC (Standard) or 1500V DC (High-efficiency systems). Never use a 600V connector on a 1000V array.
Current: Check your panel’s Isc (Short Circuit Current). The connector’s rated current (e.g., 30A or 50A) must be at least 1.25x higher than the panel’s Isc to comply with NEC safety factors.
Step 3: Assess Environmental Stress
Coastal/Marine: If installing near the sea, verify the connector has passed Salt Mist Corrosion testing (IEC 60068-2-52).
General Outdoor: Look for IP68 certification (dust tight and submersible) rather than IP67, as water pooling can happen on flat roofs or ground mounts.
UV Exposure: Ensure the housing material (usually PPO or PC) is labeled “UV Resistant” to prevent the plastic from becoming brittle and cracking after 5 years.
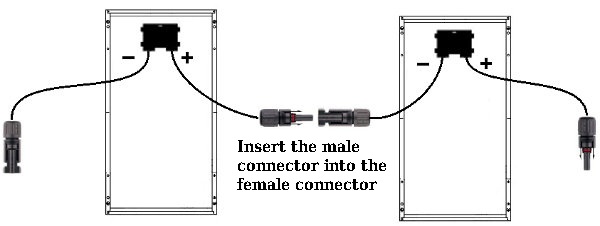
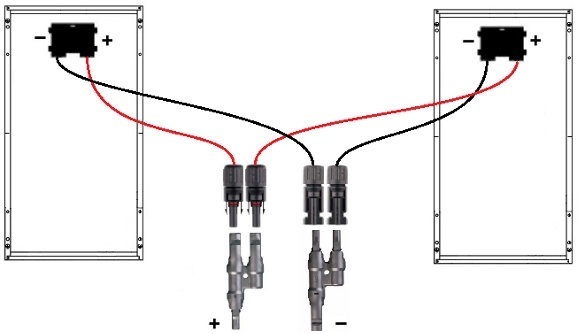
How you wire your panels determines which connectors you need.
To connect in series, you plug the Positive (+) of one panel into the Negative (-) of the next.
To connect in parallel, you connect Positive to Positive and Negative to Negative.
Many “connector failures” are actually “installation failures.” Follow these steps for a secure PV Solar Cable Assembly:
Even the best solar connectors need inspection.
Are all solar connectors universal?
A: Most are “MC4 compatible,” meaning they fit together physically. However, for maximum safety and warranty compliance, it is highly recommended to use the same brand for both male and female connections to ensure perfectly matched tolerances.
When should I use a PV Fuse Connector?
A: You typically need fuses when connecting three or more strings of panels in parallel. This protects the panels from receiving too much current if one string malfunctions.
Can I use T-Branch connectors for series connections?
A: No. T and Y branch connectors are specifically designed for parallel connections (combining current). Using them for series connections would short-circuit the panels.
Ready to Build a Safe and Efficient Solar Array? Whether you need standard connectors, X/T/Y branch adaptors for complex parallel wiring, or high-voltage PV fuse connectors for system protection, quality matters.
Explore Our Full Range of Solar Panel Connectors & Cable Assemblies Here to find the exact specs for your project. Or contact our engineering team [email protected] to state your requirements.